Introduction
Custom Fields allow you to create additional fields that are specific to your company’s requirements. This will allow you to add fields that you need for record keeping purposes. At the moment, you can create custom fields for both People and Expense modules. If you want this feature to be enabled on your account, please contact support@justlogin.com.
NOTE: Custom Fields is available to the Superadmin and People Admin.
Part 1 – Configuring the Custom Fields
Step 1: Login to the account.
Step 2: Click on  .
.
Step 3: Go to ![]() .
.
Step 4: You will see Custom Fields tab at the top, please click on it.
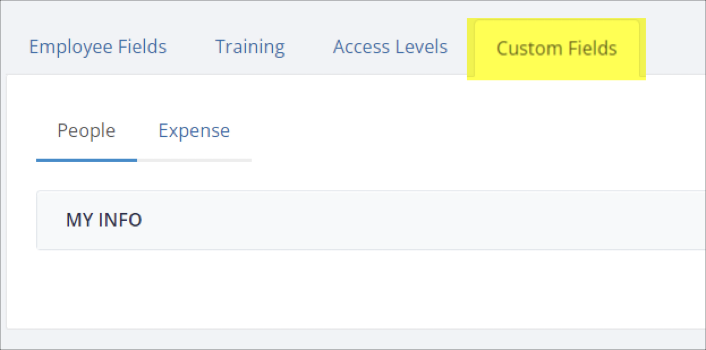
Step 5: Click on the module you would like to add a custom field to - People or Expense.
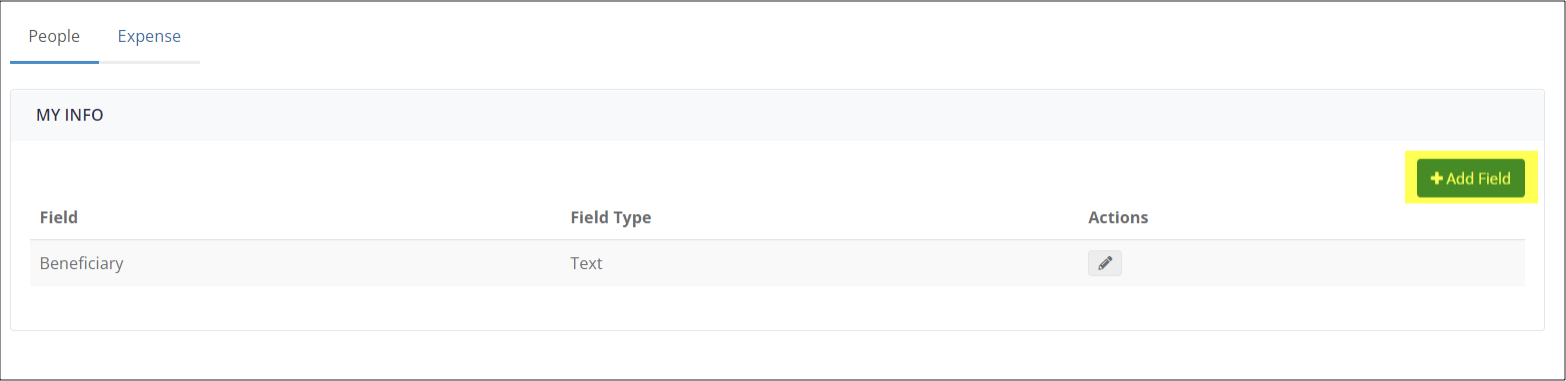
Step 6: In this example, we will use the People module. Click on the panel that you would like to add the custom field:
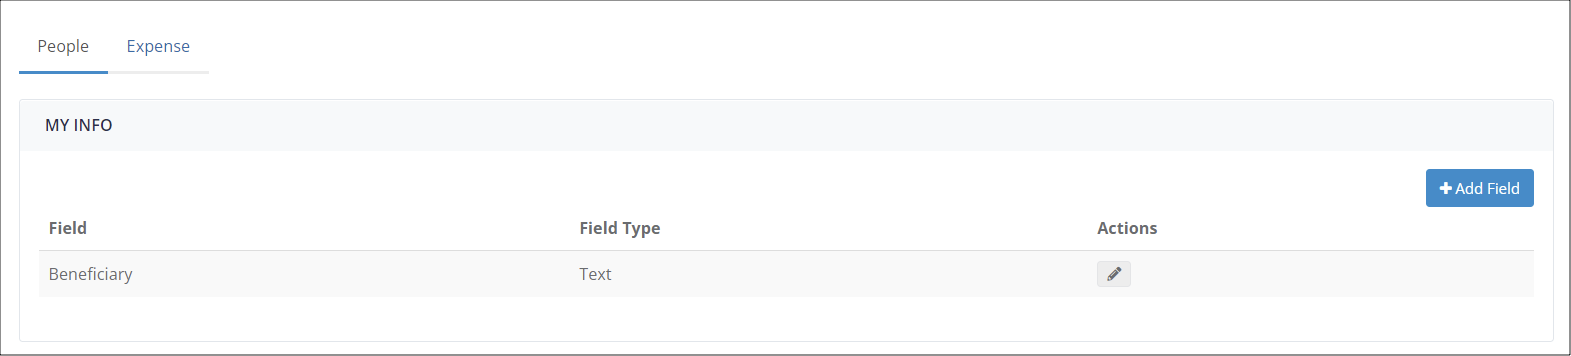
Step 7: Click on “Add Field”
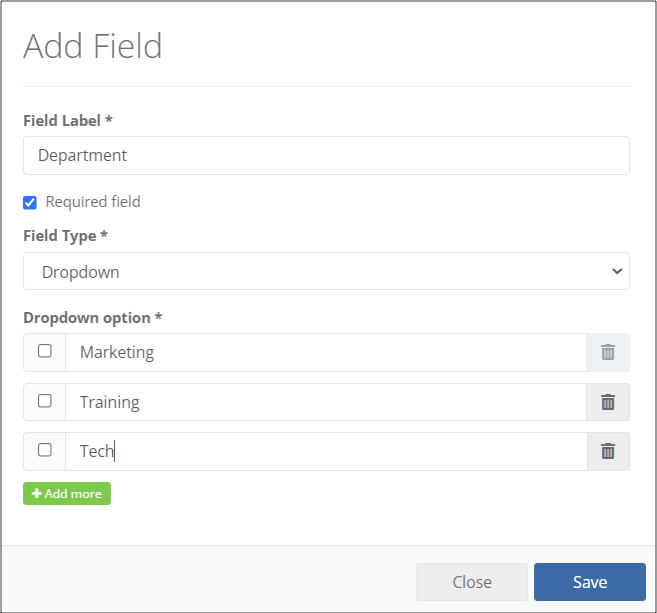
Step 8: A pop-up window will appear:
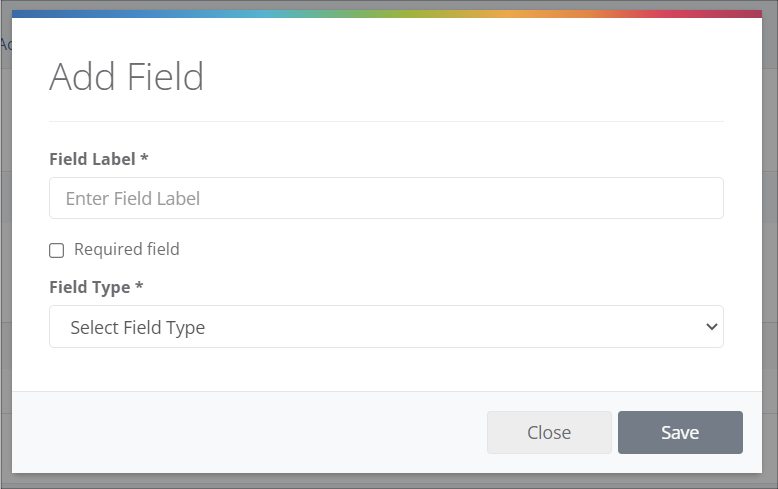
Step 9: Enter the Field Label – this will be shown as the label of the field within People or Expense.
Step 10: If you want this field to be mandatory, select the “Required Field” option.
Step 11: There are two types of custom fields supported at the moment:
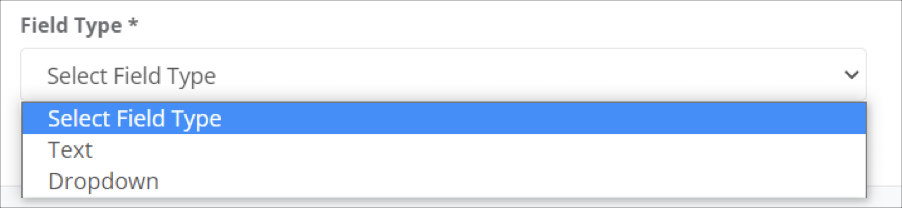
- Text – user will be able to enter single-line text
- Drop-down - user will be able to select an option from a pre-defined list
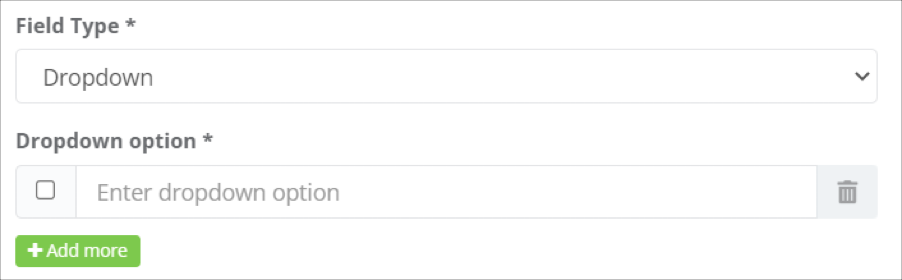
Step 11A: If you choose Dropdown option, an additional field below will appear. This is where the pre-defined set of options can be configured. You will be able to add more options to the list and also delete unnecessary options from the list using the respective buttons.
Step 12: Once done, click on ![]() .
.
Part 2 – Accessing the custom field in Expense
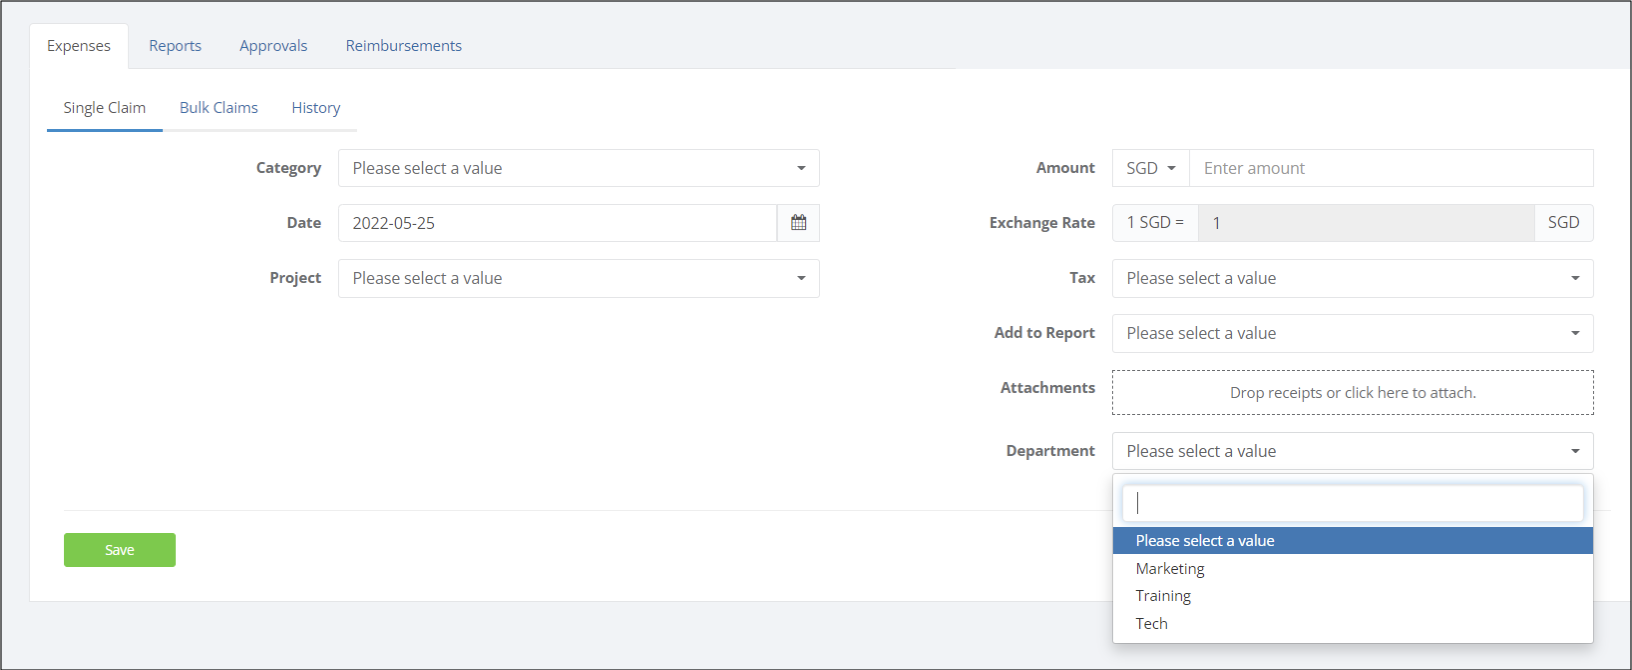
Once Custom Fields have been added for Expense, users will be able to view it when filling out an Expense claim (sample images below):
Image of Custom Field added for Expense:
This will then be accessible on the users’ end when filling out an Expense Claim:
Part 3 – Accessing the custom field in People
Once the field has been created, the user will be able to see the created custom field and add the required information accordingly.
NOTE: Custom Fields created for the People module will need to be configured for each access level created.
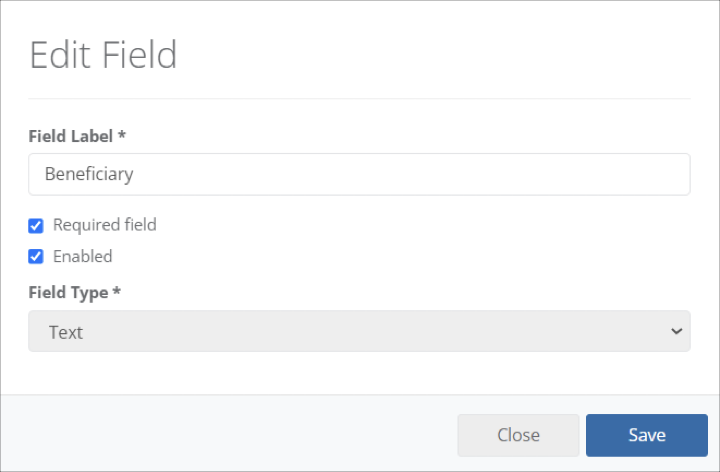
Image of Custom Field created for People:
Go to Settings>Company Settings>Access Level – Configure how each access level will be able to access the newly created custom field:
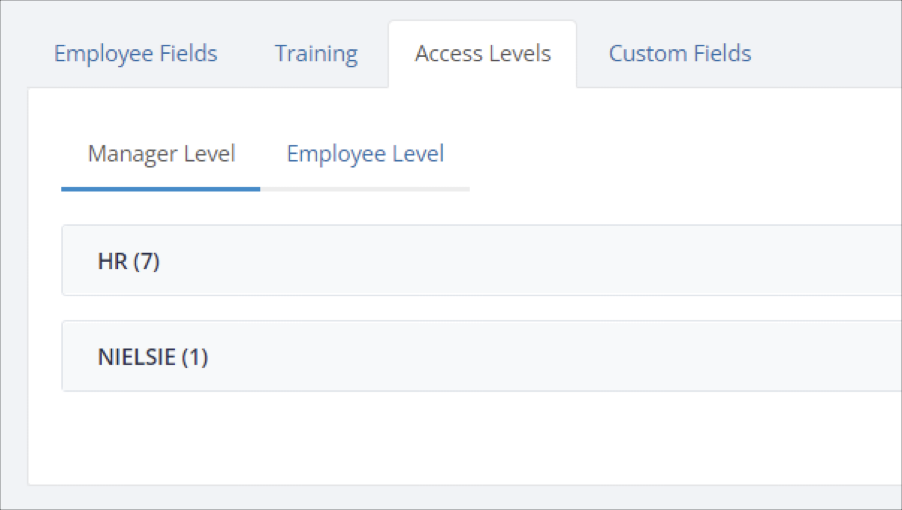
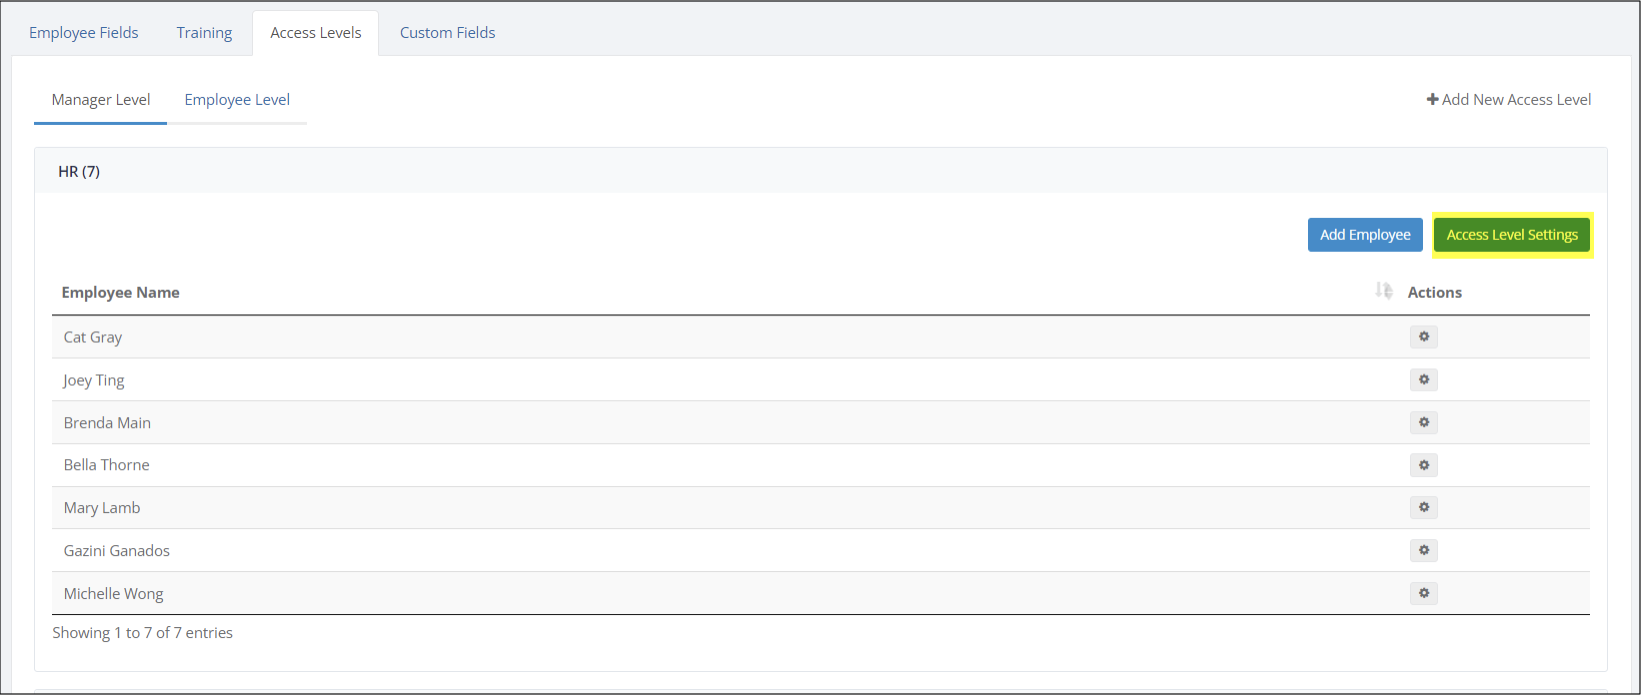
On the Manager Level, click on the access level you want to configure, then click on “Access Level Settings”
Indicate if the Manager Access Level can view or can’t view.
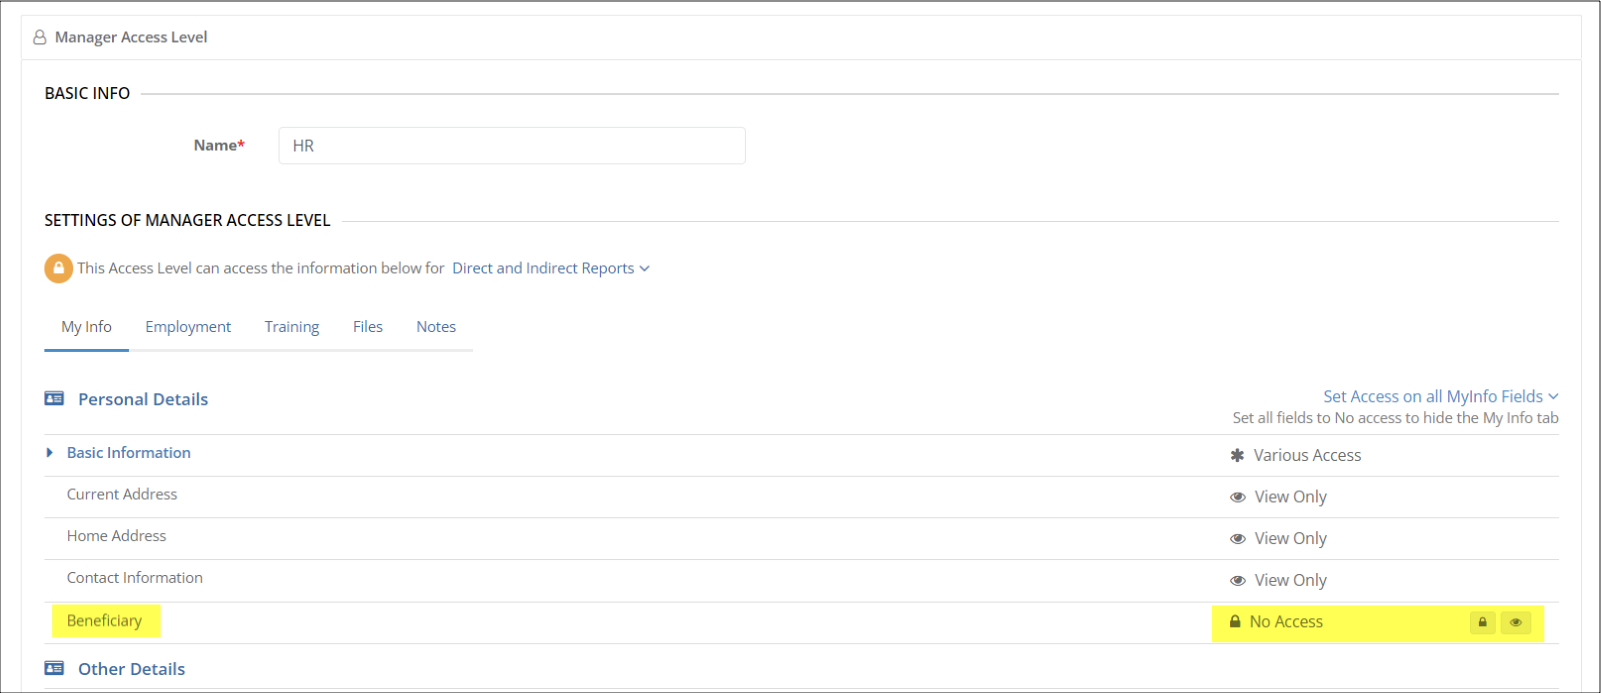
NOTE: This has to be done per access level created, both on Manager and Employee Levels.
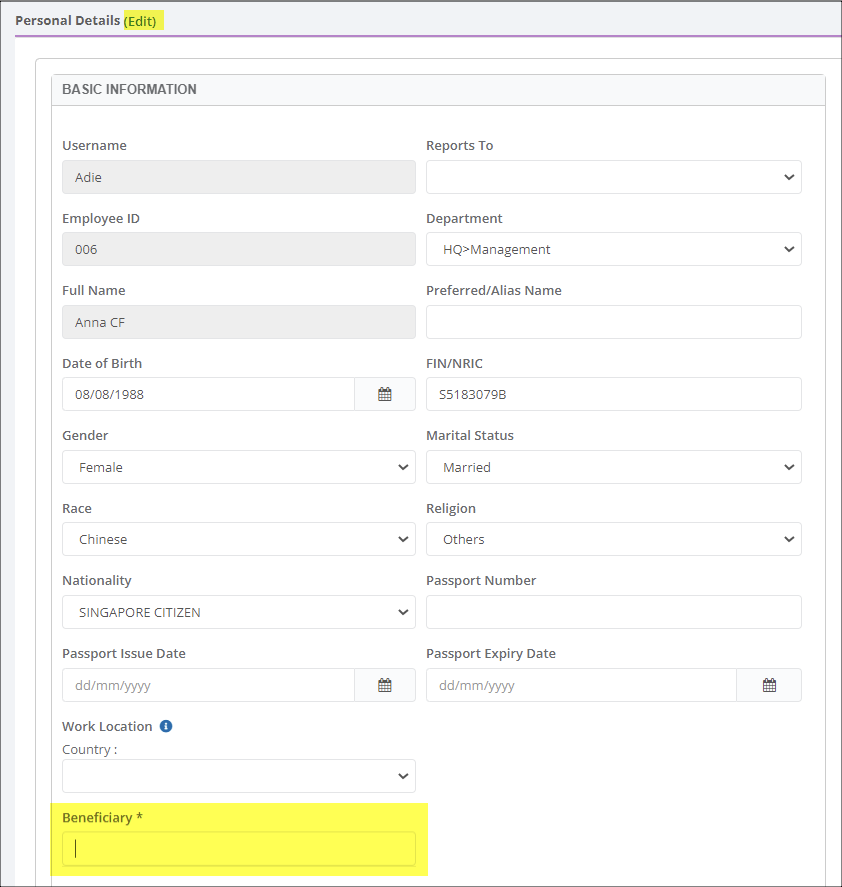
On the users’ end, they will be able to see the custom field if they go to People>Info.
Click on “Edit” in the “Personal Details” section, scroll down and the “Beneficiary” field will be enabled for editing(depending on how users’ access level is configured).