Instead of assigning shifts to your employees one at a time, you may use the Import function in the Attendance Configuration.
Download existing employees listing
The steps are as follow:
Step 1: Click on  .
.
Step 2: Click on  .
.
Step 3: At the  , click on the
 ![]() .
.
Step 4: The system will download the roster unto your computer as a CSV file. We will use that later for the importation of shifts.
Shift Creation
Step 5: Click on Roster under Attendance.
Step 6: Click on  .
.
Step 7: Click on  .
.
Step 8: Provide a Shift ID in

Step 9: Provide a Shift Name in 
Step 10: Put in the date where the shift will start in

Step 11: Put the number of days per shift (going up to 49 days) in the
![]() .
.
Step 12: State the number of hours per day the staff must fulfill

Step 13: State the number of hours for a half-day the staff must fulfill
![]()
Step 14: Configure the start time and end time for each day of the week.
Note: you must assign at least 1 Rest Day per week in accordance with MOM regulation.
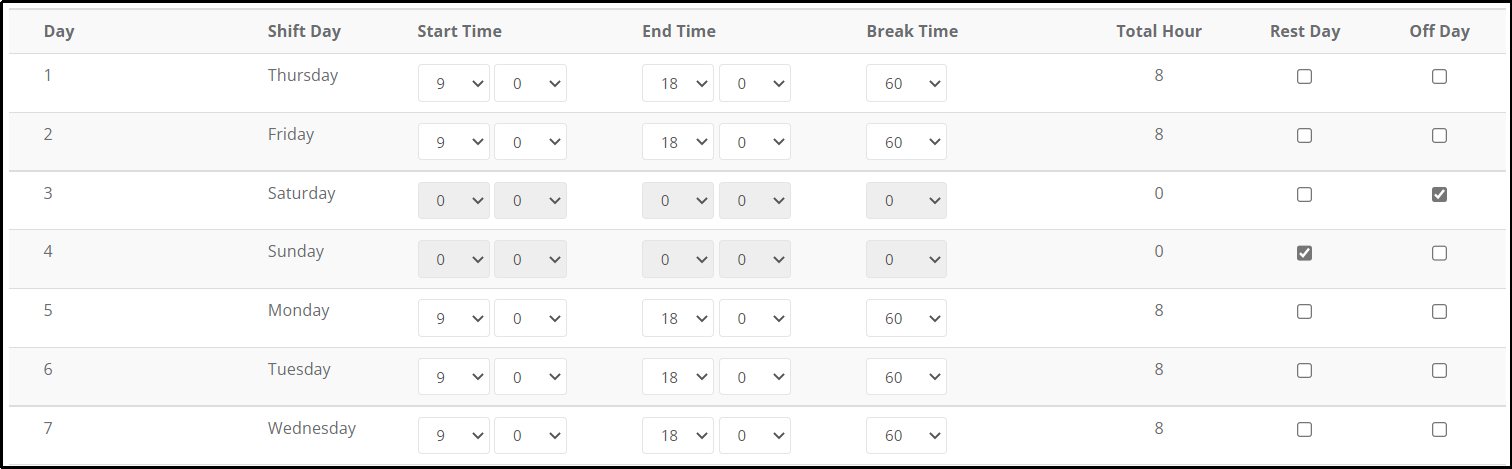
Step 15: Click on ![]() and you see that the system will calculate the
and you see that the system will calculate the![]() for you.
for you.
Step 16: Click on ![]() to save the shift.
to save the shift.
Enter Shift Name in the Downloaded Roster
Step 17: Open up the CSV file you downloaded in Step 3.
Step 18: Enter the shift names into the respective days you wish to assign the staff to. If it is off-day, use the word off. If it is rest day, use the word rest.

Step 19: Delete Column A

Step 20: Save the file
Importing the file
Step 21: Click on .
Step 22: Click on  .
.
Step 23: Select the month which you wish to import the roster at 
Step 24: State the break time duration at  .
.
Step 25: Upload the file you have amended from Step 19 - 21 at the 
Step 26: Click on  . System will prompt to confirm action
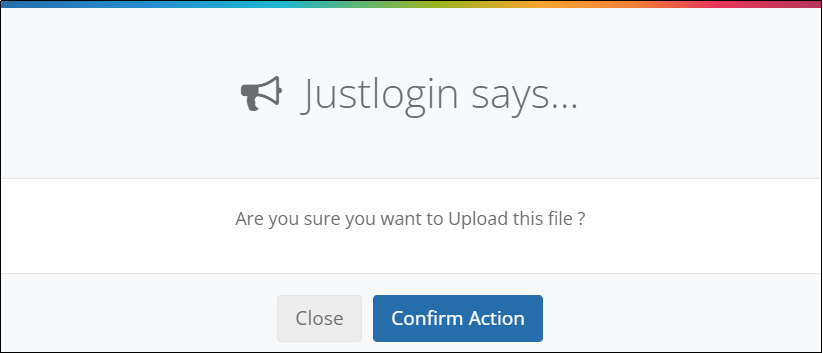
Step 27: Click on the ![]() .
.
Step 28: If imported successfully, the system will show this 
Check Shift Import
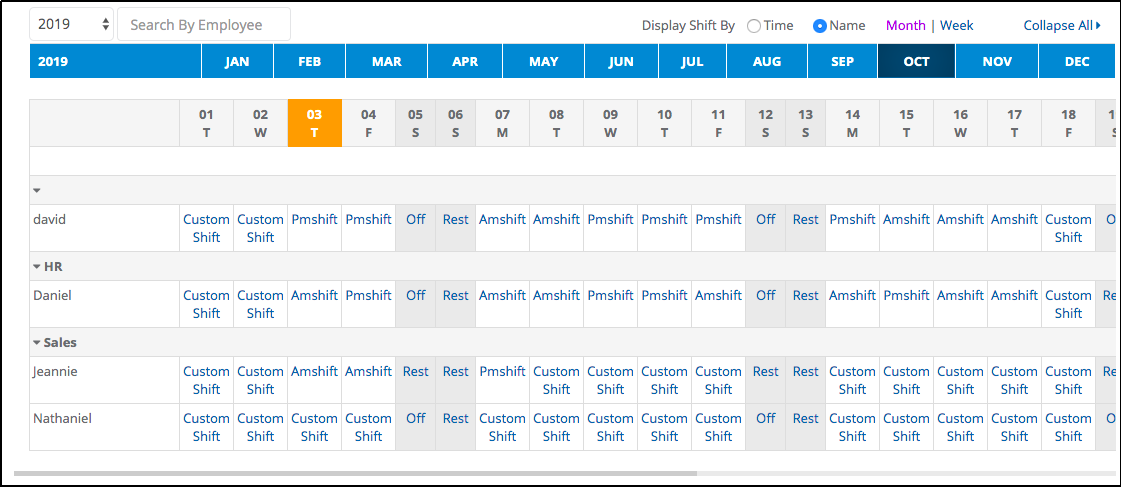
Step 29: You can check the import by going to the tab .
Step 30: Filter your search by Name.
Step 31: The imported schedules should now show.